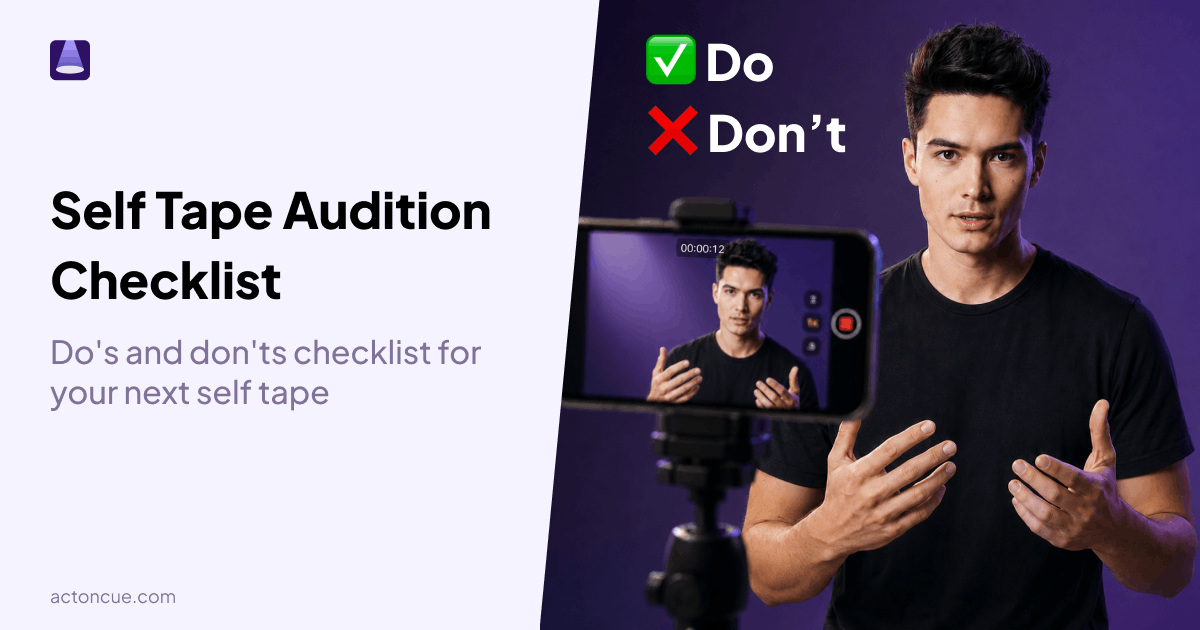
The Ultimate Self-Tape Checklist: Do's and Don'ts for Actors
A practical self-tape checklist for actors, from breaking down your sides to setup, recording, and reviewing your takes. Do's and don'ts from basics to advanced.
Self-tapeing has become the default way to audition. What used to be a backup option is now standard practice across the industry. That means casting directors are reviewing 100+ tapes per role. Sometimes hundreds more.
With that volume, standing out matters more than ever. Your job isn't just to deliver the lines well. It's to show that you match the character and bring something only you can bring.
This guide covers the do's and don'ts of the full self-tape process. We start with the basics and work up to the advanced stuff that separates good tapes from great ones. Tips on preparation, setup, recording, and performance.
Think of it as a checklist. Come back to it before every audition.
1. Read and break down your sides
This is where your audition starts. Not in front of the camera. At the table.
Print your sides or open them on a tablet. Read through them once without making any marks. Just absorb the story. Then go back and start working.
What to mark
- Beats: Find the moments where the energy shifts. A beat change might be a new piece of information, a shift in power, or an emotional turn. Mark each one.
- Objectives: What does your character want in each beat? Write it in the margin. Keep it simple and active. "To convince her to stay" is better than "sad about the breakup."
- Transitions: How does your character move from one beat to the next? These are the moments that show range. A sudden shift from humor to vulnerability is more interesting than staying in one gear.
Do's
- Read the sides at least three times before you start rehearsing
- Mark beats with a simple slash or line
- Write your objective for each beat in the margin
- Note any specific direction in the breakdown (accent, physicality, age range)
Don'ts
- Don't start memorizing before you understand the scene
- Don't ignore stage directions or parentheticals
- Don't decide on one "correct" way to play it yet
Breaking down your sides properly takes 20 minutes. Skipping it costs you the audition. If you're auditioning cold without much prep time, check out our cold read audition tips for how to make the most of limited time.
2. Understand the full script
Don't just learn your lines in isolation. If you can get the full script, read it. If you can't, research the project. Read the synopsis. Watch the trailer if there is one.
Knowing the full story gives you subtext and context that shows in your performance, even in a single scene. You'll understand why your character says what they say. You'll know what happened before the scene and what's at stake after it.
Do's
- Read the full script if it's available
- Research the project, director, and tone if you can't get the script
- Identify what happened right before your scene
- Know your character's arc, not just your lines
Don'ts
- Don't treat your scene as an isolated monologue if it's part of a larger story
- Don't assume you know the genre or tone without checking
For more on this, read why actors should read the whole screenplay.
3. Set up your space
Your setup should be invisible. Casting directors should see you, not your living room. Getting the technical basics right takes five minutes and makes a massive difference.
Framing
Film horizontally. Always. The industry standard is horizontal video because casting directors watch on computer screens and the projects you're auditioning for are shot horizontally.
Frame yourself from the chest up. The top of your head should be near the top of the frame, maybe an inch or two of space above. Too much headroom makes you look small. Too little cuts off your head.
Stand or sit in the center of the frame.
Camera height and stability
Use a tripod. You can get a phone tripod for $20 on Amazon. It's the single most important piece of equipment for self-taping.
Position the lens at eye level. Propping your phone on a desk puts the camera at an awkward upward angle. A tripod fixes this.
Lighting
Face a window for natural light during the day. If you're taping at night, use a ring light or LED panel. Two lights are better than one for even coverage.
Avoid overhead lighting. It casts harsh shadows under your eyes. Avoid backlighting. If the light is behind you, your face will be dark.
Background
Use a plain, solid-color background. Blue and grey are the standard choices. You can buy a roll of seamless paper from any camera shop. Tape it to a flat surface behind you.
If you don't have paper, find a clean wall. Just make sure there's nothing distracting behind you. No posters, no laundry, no family members walking through.
Audio
Close the doors. Turn off the TV, the AC, and anything else that makes noise. Use the built-in phone mic but keep it closer than you think. If you're taping a lot, invest in a lavalier mic.
Test your audio before every session. Play it back with headphones.
Eyeline
Don't look at the camera unless your character would look at the camera on set. A spokesperson in a commercial? Look at the lens. A character talking to another character? Look just to the right or left of the camera, where your reader would be.
If there's more than one other character in the scene, pick different eyelines for each one.
Do's
- Film horizontally at eye level
- Use a tripod
- Use soft, even lighting from the front
- Test audio with headphones before recording
- Use a plain background
Don'ts
- Don't film vertically
- Don't prop your phone on a desk or stack of books
- Don't film with a window behind you
- Don't forget to silence your phone notifications
- Don't look at the camera (unless directed to)
For a deeper dive on every technical detail, see our full self-tape recording guide and the most common self-tape mistakes that cost actors callbacks.
4. Use a reader for the other characters
This is where a lot of actors get stuck. You need someone to read the other lines, but your roommate is at work and your actor friend is busy.
Acting is reacting. Without someone feeding you the other lines, your performance feels hollow. Casting directors can tell when you're reciting into silence. The rhythm is off, the pauses feel manufactured, and your reactions have nothing to land on.
This is where ActOnCue shines. Upload your script, pick your character, and the AI reads everything else. You rehearse naturally, responding to real cues instead of filling in gaps from memory. It's the closest thing to having a scene partner available 24/7.
Join Act On Cue
Pick your part and let AI read the rest. Rehearse scenes naturally, no scene partner needed.
Do's
- Always use a reader for dialogue scenes. Always.
- Use a reader app if you can't get a real person
- Have your reader deliver lines with some energy, not a flat monotone
- If using a friend on FaceTime or Zoom, send them the script in advance
Don'ts
- Don't record dialogue scenes without a reader. Casting directors want to see you listen, react, and respond.
- Don't record yourself reading both parts
- Don't use a reader who sounds like they're being held hostage
For more reader options, check out our guide to finding the best self-tape readers. We've also written a full guide on finding a scene partner if you want to explore all your options.
5. Record and review
Here's a trick most actors skip. After you record a take, watch it back twice.
First pass: sound off
Watch your playback with the sound muted. Focus entirely on your body language. Are your gestures natural or forced? Are you shifting your weight nervously? Is your face doing the work, or are you relying on your voice to carry the emotion?
Body language is half the performance. Casting directors notice tension in the shoulders, fidgeting hands, and frozen faces. Watching without sound makes these things obvious.
Second pass: sound on
Now watch again with the audio. Focus on your delivery. Are you rushing? Are your pauses landing? Is the volume consistent? Can you hear the room tone or any background noise?
Listen for the rhythm of the scene. Does it breathe? Or does it feel like you're pushing through your lines to get to the end?
Do's
- Watch every take back before moving on
- Do the silent playback test for body language
- Check your audio with headphones
- Note specific moments to adjust, not just "do it better"
Don'ts
- Don't send your first take without reviewing it
- Don't just watch for your performance. Check the technical stuff too (framing, lighting, audio).
- Don't get stuck watching takes for an hour. Review, note, adjust, re-record.
6. Iterate with different choices
This is the advanced move that separates working actors from everyone else.
Don't just do the same read over and over, hoping the next take will be slightly better. Make different choices. Try playing the scene angry, then try it amused. Shift the power dynamic. Change the subtext.
Casting directors want to see range. If you send three takes that are all the same with minor delivery tweaks, you've sent one take. If you send two takes with genuinely different interpretations, you've shown them something.
How to make different choices
- Change your objective. If your first take was "to convince," try "to provoke."
- Shift the relationship. What if your character secretly admires the person they're arguing with?
- Adjust the stakes. Play it like your life depends on it, then play it like you don't care at all.
- Try a different physical approach. Stand for one, sit for another. Lean in vs. lean back.
Do's
- Do at least 3-5 takes with genuinely different choices
- Pick your 1-2 strongest takes to send
- Give yourself permission to make bold choices. The worst that happens is you don't send that take.
- Take breaks between takes to reset
Don'ts
- Don't do 20 takes of the same read
- Don't always go with the "safe" take
- Don't overthink it. Trust your instincts and let some takes be messy and alive.
If you want to memorize your lines faster between takes, try the first-letter mnemonic method so you can focus on choices instead of recall.
7. Be yourself
This sounds simple. It's the hardest tip on this list.
When you get sides for a character that feels close to who you actually are, the temptation is to "act" more. To put on a performance. To show the casting director how much range you have. But if the character matches you, the best thing you can do is get out of your own way.
Don't overthink it. If you naturally talk fast, let your character talk fast. If you're funny in real life, let that come through. The casting director picked your headshot for a reason. They already see something in you that fits the role.
The actors who book are often the ones who feel the most natural on tape. Not the ones doing the most "acting." Casting directors can smell effort. They want to see someone who lives in the scene, not someone performing it.
Do's
- Trust what you naturally bring to the role
- Let your real personality come through, especially for characters close to your type
- Focus on listening and reacting honestly rather than "showing" emotion
- Remember: they called you in because something about you already fits
Don'ts
- Don't add layers of performance on top of a character that's already you
- Don't try to sound like what you think the character "should" sound like
- Don't second-guess your instincts when the role feels natural
- Don't confuse "simple" with "not enough." Sometimes simple is exactly what they want.
8. Follow up after submitting
Your work doesn't end when you hit send. A thoughtful follow-up can keep you top of mind with casting directors and show professionalism that sets you apart.
Send a brief, polite thank-you to your agent or the casting office after submitting. Keep it short. Something like "Thank you for the opportunity to read for [role]. I really connected with the material." No need to oversell.
If you don't hear back, don't panic. Casting timelines vary wildly. But staying professional and visible over time builds relationships that lead to future opportunities.
Do's
- Send a short thank-you after submitting
- Keep notes on what worked and what you'd change for next time
- Move on to your next audition quickly. Don't dwell.
Don'ts
- Don't follow up repeatedly or ask if they've watched your tape
- Don't take silence personally. Casting directors are juggling hundreds of submissions.
For more on building lasting relationships with casting, check out our audition follow-up guide.
Quick-reference checklist
Before you hit send, run through this list:
- Sides are broken down (beats, objectives, transitions)
- You understand the full story and your character's arc
- Camera is horizontal, on a tripod, at eye level
- Lighting is even and from the front
- Background is clean and non-distracting
- Audio is clear (tested with headphones)
- You rehearsed with a reader (real person or AI reader )
- You've watched playback with sound off (body language check)
- You've watched playback with sound on (delivery check)
- You recorded multiple takes with different choices
- You selected your 1-2 strongest takes
- You let your natural self come through (especially for roles close to your type)
- Your slate is clean and includes the information casting requested
- You followed up with a thank-you
The bottom line
Self-taping is a skill. Like any skill, it gets better with practice. The actors who book from self-tapes aren't the ones with the best equipment. They're the ones who prepare thoroughly, set up properly, and make bold choices.
Start with the basics. Get your setup right. Break down your sides. Use a reader. Then push yourself to make different choices on every take.
Your next audition deserves your best work. Not just your best performance, but your best tape. Need a script to practice with? Browse our practice scripts for actors or check out the best self-tape apps to find tools that fit your workflow.
Join Act On Cue
Upload your script, pick your part, and start rehearsing with an AI reader. No scene partner needed.